
Lawn
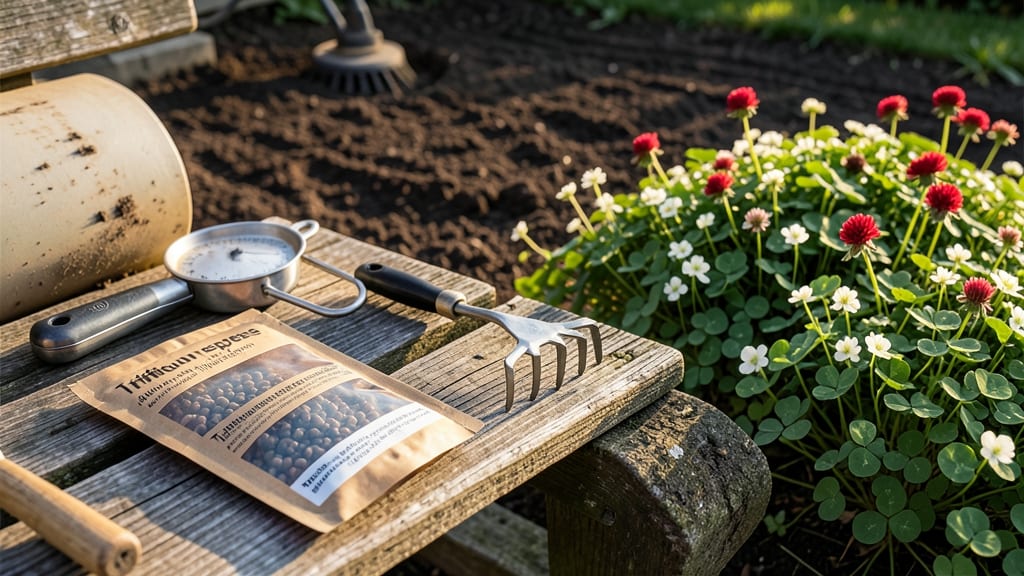
A fast-germinating clover seed mix can turn your patchy lawn into a vibrant, self-sustaining carpet within weeks. 🌱 I learned the hard way that patience is key—skipping soil prep or rushing the seeding leads to thin spots and slow growth.
But when done right, clover establishes quicker than grass and stays lush even in drought. The secret starts with loosening compacted soil and removing weeds before seeding. A light raking and a thin layer of compost sets the stage for roots to take hold.
For best results, sow seeds in early fall or spring when temperatures hover between 50-70°F, giving them ideal conditions to sprout within 7-14 days. Once established, clover thrives with minimal care: mow high (3-4 inches) to shade out weeds, and water deeply once a week during dry spells.
The payoff? A lawn that stays green without synthetic fertilizers, resists pests, and even improves soil health over time. Perfect for beginners or anyone tired of high-maintenance grass. Here’s how to make it work without the guesswork!
📚 In This Guide
- What you need
- Instructions
- Tips and common mistakes
- Wrapping up and next steps
What you need
- ● Clover seed mix: Choose a fast-germinating blend (e.g., Dutch white clover or microclover) with 1-2 lbs per 100 sq ft of lawn area. Check the label for germination rates and coverage specs.
- ● Lawn mower: Set to a high cutting height (3-4 inches) to avoid scalping the grass and damaging the soil.
- ● Broadcast spreader (or hand spreader): For even distribution, especially for larger lawns. Calibrate it to match your seed mix’s application rate.
- ○ Soil test kit (optional but recommended): Test your soil’s pH (ideal: 6.0-7.0) and nutrient levels. Adjust with lime or fertilizer if needed.
- ● Lightweight topsoil or compost: ¼-inch layer to improve seed-to-soil contact and moisture retention.
- ● Water source (hose with sprinkler or garden sprayer): Ensure gentle, consistent watering (see instructions for specifics).
- ● Rake (bow rake or dethatching rake): Loosen soil and remove debris before seeding. Aerate compacted areas for better seed penetration.
- ● Garden gloves: Protect your hands from thorns (if using wildflower mixes) and soil particles.
- ○ Straw or peat moss: Lightly cover seeds with a ¼-inch layer to retain moisture (optional but helpful in dry climates).
- ● Lawn fertilizer (low-nitrogen, slow-release): Apply 2-3 weeks after seeding to support early growth.
- ● Weed blocker fabric: Use in high-weed areas to suppress unwanted growth while clover establishes.
- ● Soil moisture meter: Monitor moisture levels, especially in hot or windy conditions.
Step-by-step instructions for planting a fast-germinating clover seed mix
Here’s how to get that vibrant green lawn in just 10-14 days—no waiting months.
🌱 Step 1: Prepare the Soil for Optimal Germination
Start by mowing your lawn as short as possible—this gives the tiny clover seeds direct soil contact. Rake away all clippings and debris, then loosen the top ¼ inch of soil with a garden rake. Clover seeds need firm but not compacted soil to anchor properly. If your lawn has thick grass, consider lightly scarifying the surface to break up thatch.
Test your soil’s moisture by squeezing a handful—it should hold together but not feel soggy. If it’s too dry, water lightly the day before planting. The goal is damp, not drenched, soil. I like to work in the late afternoon so the soil stays cool and retains moisture overnight.
💧 Step 2: Spread the Seed Mix Evenly
Use a broadcast spreader set to the finest setting to distribute the clover seed mix. Walk in overlapping rows to avoid bare spots—think of it like snowfall coverage. For a 1,000 sq ft lawn, you’ll need about ½ pound of seed. Lightly rake the area again to ensure seeds make contact with the soil without burying them too deep.
Don’t skip this rake step. Seeds buried deeper than ¼ inch take longer to sprout, and clover germinates best when just pressed into the soil surface. If you’re planting in windy conditions, consider laying down a lightweight straw mulch afterward to keep seeds in place until germination.
☀️ Step 3: Water Gently but Frequently
The first 7-10 days are critical—keep the soil surface consistently moist by watering lightly twice daily. Use a gentle spray nozzle to avoid dislodging seeds. You’ll know you’re doing it right when the top ½ inch of soil stays damp but not waterlogged. Overwatering here can cause seed rot before sprouts appear.
After the first true leaves emerge (they’ll look like tiny, rounded clover leaves), you can reduce watering to once daily. Watch for signs of stress—wilting or yellowing means you’re either underwatering or overwatering. Clover thrives in 50-70°F soil temps, so early spring or fall planting gives the best results.
⏰ Step 4: Maintain Until Full Establishment
Once the clover reaches 3-4 inches tall (about 3-4 weeks after planting), it’s time to mow. Set your lawnmower to its highest setting—clover grows best when left slightly longer than traditional grass. This helps the plants develop deeper roots and crowd out weeds naturally.
Fertilize lightly with a nitrogen-free, phosphorus-rich fertilizer to encourage strong root growth. Avoid heavy foot traffic until the clover is fully established—you’ll know it’s ready when it forms a dense, green mat that resists weeds and recovers quickly from mowing.
Tips & tricks for perfect fast-germinating clover lawn
Want that lush green lawn in record time? These practical tips will help you avoid common pitfalls and get the fastest, most vibrant results.
Timing is Everything: Plant your clover seed mix in the late afternoon when temperatures are cooler—this helps the soil retain moisture overnight, which is crucial for the first 7-10 critical days of germination. Early morning planting can leave seeds exposed to drying winds before they establish. I've found that planting between 4-6 PM gives seeds the best overnight moisture retention, especially in dry climates.
Soil Prep Secret: Don't overlook the scarifying step if your lawn has thick grass. Lightly scarifying breaks up thatch and creates tiny pockets for seeds to nestle into, which dramatically improves germination rates. For extra insurance, mix a handful of compost into the loosened soil before planting—this adds nutrients that help young clover seedlings establish stronger roots right from the start.
Watering Wisdom: The twice-daily watering routine in the first week might seem tedious, but it's non-negotiable for fast germination. I recommend using a gentle mist setting on your hose or a soaker hose to keep the top ½ inch of soil consistently damp. Pro tip: Water in the early morning and late evening to minimize evaporation and prevent fungal issues that can rot seeds before they sprout.
Equipment Upgrade: If you don't have a broadcast spreader, a simple solution is to use a clean, empty flour sack or burlap bag. Cut a small hole in the corner, pour seeds in, and walk slowly while gently shaking the bag. This creates an even distribution similar to professional spreaders. For larger lawns, consider renting a spreader from your local hardware store—it's worth the investment for perfect coverage.
Pro Tips for Clover Seed Mix For Lawn
- Want that lush green lawn in record time? These practical tips will help you avoid common pitfalls and get the fastes...
- Timing is Everything: Plant your clover seed mix in the late afternoon when temperatures are cooler—this helps the so...
- Soil Prep Secret: Don't overlook the scarifying step if your lawn has thick grass. Lightly scarifying breaks up thatc...
Frequently asked questions
Got questions about using clover seed mix for your lawn?
You’re not alone! Here are some of the most common queries—and straightforward answers—to help you get started with confidence.
When is the best time to plant clover seed mix for lawns?
The ideal window is early spring (March–April) or late summer/early fall (August–September). These periods offer consistent moisture and moderate soil temperatures, which promote faster germination and root establishment. Avoid planting in extreme heat or drought conditions—clover needs steady hydration to thrive!
How long does it take for clover seed to germinate and grow?
Clover seeds typically sprout within 7–14 days under ideal conditions (warm soil, regular watering). You’ll see noticeable growth in 3–4 weeks, but full coverage may take 2–3 months. For a faster green-up, mix clover with fast-germinating annual ryegrass—it bridges the gap while clover establishes!
How often should I water clover seed after planting?
Keep the soil evenly moist (not soggy) for the first 2–3 weeks—water lightly daily or every other day. Once seedlings emerge, reduce to 2–3 times per week, watering deeply (1–1.5 inches) to encourage deep root growth. Morning watering is best to prevent fungal issues.
Will clover attract bees or pests to my lawn?
Yes, clover does attract bees—they love its nectar! This is actually a plus for pollinators. As for pests, clover is resistant to many lawn weeds and drought-tolerant, but it may draw deer or rabbits if left unchecked. A light nitrogen fertilizer can make it less appealing to browsers while keeping it lush.
Can I mix clover seed with other grass types, or should I use it alone?
Clover blends well with cool-season grasses (like fescue or ryegrass) or warm-season grasses (like Bermuda). A 50/50 mix balances nutrient needs, drought resistance, and soil health. For example, pair it with microclover for finer texture or white Dutch clover for faster spread. Avoid mixing with thatch-prone grasses like St. Augustine.
What should I do if my clover isn’t growing as expected?
Troubleshoot with these steps:
- Check soil pH: Clover prefers 6.0–7.0. Test and amend with lime (to raise pH) or sulfur (to lower it) if needed.
- Ensure sunlight: Clover needs 4–6 hours of sun daily. Shady spots may stunt growth.
- Test for compaction: Aerate if the soil feels hard—clover roots need oxygen to grow.
- Re-seed thin areas: If germination was spotty, scatter fresh seed and water thoroughly.
Wrapping up and next steps
Transforming your lawn into a vibrant, low-maintenance green space is easier than ever with a fast-germinating clover seed mix! 🌱 Whether you're tackling patchy areas, reducing weeds naturally, or simply craving a lush, resilient lawn, this blend delivers quick results and long-term beauty.
With the right prep, planting, and care, you’ll enjoy a thicker, softer turf that thrives with minimal effort.
Ready to take the next step? Grab your seeds, follow the guide, and watch your lawn flourish in weeks! 🌿 For extra tips, check out our lawn care resources or dive into seasonal maintenance to keep your green oasis at its best.