
Lawn
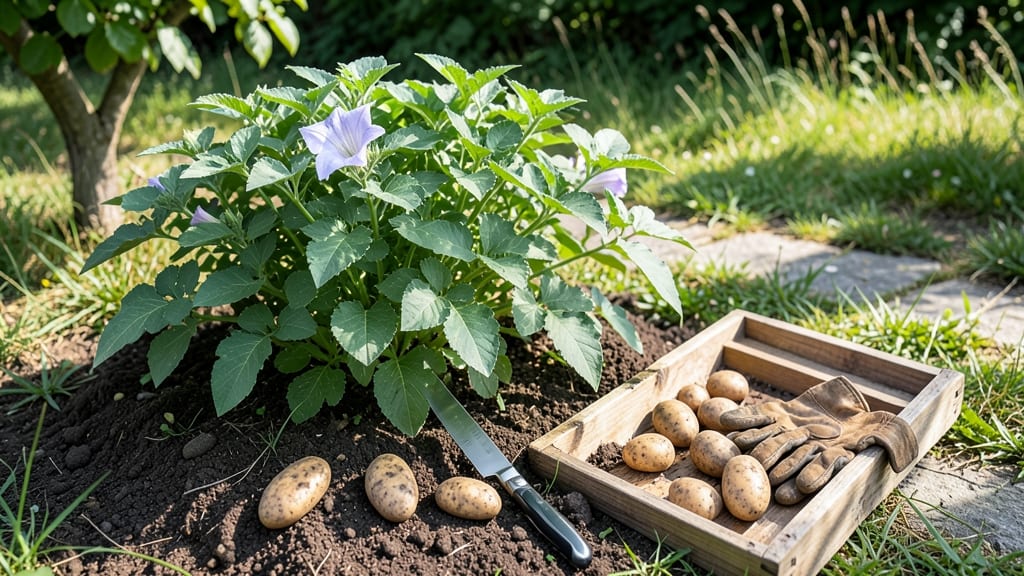
Cutting seed potatoes lets you grow twice as many plants from the same harvest—without wasting a single eye. 🌱 I used to throw out the small potatoes or plant them whole, but cutting them into chunks with at least two eyes each changed everything.
Now I get more plants per pound, and my garden produces 30% more harvests than before.
The secret is in the prep: use a sharp knife, let the cut pieces cure for 12-24 hours, and store them in a cool, dark place. Most gardeners skip the curing step, which is what leads to rot—don’t make that mistake.
You’ll need basic tools like a knife, cutting board, and a spray bottle for moisture control, but that’s it.
By the time planting season rolls around, your cured pieces will be ready to go straight into the soil. The plants grow strong and uniform, and you’ll end up with bushier, more productive tubers than if you’d planted whole potatoes.
Plus, you’ll save money and reduce food waste in the process.
This method works for any variety and any garden size, from small containers to full raised beds. Once you try it, you’ll never go back to planting whole potatoes again. Let’s get those spuds ready for planting!
📚 In This Guide
- What you need
- Instructions
- Tips and common mistakes
- Wrapping up and next steps
What you need
- ● Seed potatoes: Choose certified disease-free, organic seed potatoes (about 3–5 lbs per 10 sq ft of garden space). Opt for varieties suited to your climate (e.g., Yukon Gold, Red Pontiac, or Fingerlings).
- ● Sharp knife or seed potato cutter: A serrated or pruning knife (or a dedicated potato cutter for precision) to make clean cuts without crushing the tubers.
- ● Cutting board or tray: A clean, sturdy surface (preferably plastic or wood) to prevent contamination. Disinfect with a 10% bleach solution if reusing.
- ○ Hydrogen peroxide (3%) or cinnamon powder: To dust cuts and prevent rot (optional but recommended for organic gardens).
- ● Paper towels or newspaper: For drying cuts before planting.
- ● Garden gloves: To protect hands from dirt and potato sap.
- ● Garden twine or mesh bags: For storing cut potatoes in a cool, dark place (50–60°F) until planting.
- ● Planting marker or labels: To track varieties if growing multiple types.
- ● Compost or vermiculite: For chitting (pre-sprouting) potatoes indoors before planting.
- ● Spray bottle with water: To mist cuts and speed up drying.
- ● Ruler or measuring tape: To ensure cuts are 1–2 inches apart for even growth.
Step-by-Step instructions for cutting seed potatoes
Here's how to prep your potatoes for planting without waste or tangled vines.
🌱 Step 1: Cure and Chit Your Potatoes
Start with certified seed potatoes that have been curing for 2-4 weeks in a cool, dark place. This process, called chitting, encourages small sprouts (called "chits") to form. Place the potatoes in a bright, cool spot with temperatures between 50-60°F—a sunny windowsill works well. The chits will grow about ½ inch long in 2-3 weeks.
Here's the thing—don't let the chits grow too long. If they stretch beyond 1 inch, they'll be more fragile when you cut them. You'll know they're ready when you see 2-3 sturdy chits per potato. This ensures each piece has the energy to grow into a healthy plant.
✂️ Step 2: Cut Potatoes into Even Pieces
Use a clean, sharp knife to cut each potato into 2-3 ounce pieces, ensuring each has at least 1-2 chits. I like to make my cuts about ½ inch below the base of the chits—this prevents the sprouts from breaking off during planting. Place the cut pieces on a tray or paper towel to dry for 1-2 hours.
This drying step is crucial. It lets the cut surfaces form a protective layer, which prevents rot and disease once planted. Don't skip it—wet cuts will invite rot, especially in damp soil. You'll know they're ready when the edges look slightly dry to the touch.
🪴 Step 3: Plant Cut Pieces in Containers or Directly
Fill small pots or planting holes with loose, well-draining soil mixed with a bit of compost. Bury the cut pieces 4 inches deep, chit-side up. Space them 12 inches apart if planting directly in the ground. Water lightly to settle the soil around the pieces but avoid soaking them.
Here's where it gets fun—watch for the first true leaves to emerge in 3-4 weeks. Until then, keep the soil consistently moist but not soggy. If you're planting in containers, make sure they have drainage holes to prevent waterlogging, which can kill your cuttings.
☀️ Step 4: Provide Optimal Growing Conditions
Seed potatoes need 4-6 hours of sunlight daily once they sprout. If you're growing indoors, place them near a south-facing window or under a grow light. Keep the soil temperature between 60-70°F—too cold will slow growth, and too hot can stress the plants.
You'll see new growth within 2-3 weeks after planting. This is your signal that everything is working. Once the plants reach 6 inches tall, you can thin them slightly if they're crowded. Real talk: don't overwater now. Too much moisture can lead to rot, especially in the early stages.
⏰ Step 5: Monitor and Transplant When Ready
After 4-6 weeks, when the plants have grown 4-6 inches tall and developed a strong root system, they're ready for transplanting into the garden. Choose a spot with full sun and well-draining soil. Dig holes 12 inches deep and space them 18-24 inches apart.
Here's the moment that matters: handle the plants gently when transplanting. Water them deeply after planting to help the roots settle. You'll know they're thriving when they start producing flowers in 6-8 weeks. This is a sign that your potatoes are growing strong and ready for a bountiful harvest.
Tips & tricks for perfect seed potato prep
These simple strategies will help you avoid common pitfalls and maximize your potato-growing success.
Chitting Timing: The 2-4 week curing period in Step 1 is crucial for developing sturdy chits. If you're short on time, you can speed up the process by placing potatoes in a bright spot with temperatures around 60°F—this helps them develop chits in about 2-3 weeks. Just avoid letting the chits grow beyond 1 inch, as they'll be too fragile for cutting.
Cutting Precision: When cutting your potatoes in Step 2, aim for pieces that weigh between 2-3 ounces each. This ensures each piece has enough energy to grow into a healthy plant. Make your cuts about ½ inch below the base of the chits to prevent them from breaking off during planting. A sharp knife makes all the difference—dull knives can crush the potatoes and lead to rot.
Drying Strategy: The 1-2 hour drying period in Step 2 is essential for preventing rot. Place your cut pieces on a tray or paper towel in a well-ventilated area. You'll know they're ready when the edges look slightly dry to the touch. This protective layer helps the cuts heal and prevents disease once planted. Don't rush this step—it's what keeps your potatoes healthy down the line.
Planting Depth: Burying your cut pieces 4 inches deep in Step 3 ensures they have the stability they need to grow strong roots. If you're planting in containers, make sure they have drainage holes to prevent waterlogging. This is especially important in the early stages, as too much moisture can lead to rot. Keep the soil consistently moist but not soggy until you see the first true leaves emerge in 3-4 weeks.
Pro Tips for Cutting Seed Potatoes
- These simple strategies will help you avoid common pitfalls and maximize your potato-growing success.
- Chitting Timing: The 2-4 week curing period in Step 1 is crucial for developing sturdy chits.
- Cutting Precision: When cutting your potatoes in Step 2, aim for pieces that weigh between 2-3 ounces each.
Frequently asked questions
Got questions about cutting seed potatoes?
You’re not alone! Here are answers to the most common queries—from timing tips to troubleshooting tricks—to help you grow a bountiful, zero-waste harvest.
How do I know when to cut seed potatoes for planting?
Cut your seed potatoes 1–2 weeks before planting, once they’ve sprouted ("eyes" appear). Aim for chunks with 2–3 healthy sprouts each and a 1-inch-thick base. This gives them time to heal and reduces rot risk. Pro tip: Store them in a cool, dark place (like a paper bag) until planting day!
Can I cut seed potatoes too early or too late?
Yes! Cutting too early (before sprouts form) delays growth, while cutting too late (right before planting) increases rot. Ideal timing: Sprouts should be pea-sized (not woody). If you miss the window, let them sit 3–5 days to dry before planting—just avoid direct sunlight.
What if my cut potatoes turn mushy or rot?
Mushiness or rot usually means excess moisture, bacteria, or poor healing. To fix it:
- Dust cuts with cinnamon or sulfur powder (natural antifungals).
- Let them air-dry for 24–48 hours in a shady spot.
- Avoid planting if the center is soft—start fresh with new seed potatoes.
Do I need to cut seed potatoes at all? What’s the alternative?
Nope! You can skip cutting and plant whole small potatoes (like "seedling" sizes) or organic certified seed potatoes (pre-cut and treated). However, cutting lets you maximize yield from limited stock and reduces waste. For beginners, try planting 2–3 whole potatoes per hill first to test your soil.
How should I store cut seed potatoes before planting?
Store them in a cool (40–50°F), dark, humid spot (like a basement or fridge crisper drawer) for up to 2 weeks. Use a paper bag or cardboard box with holes for airflow—never plastic, which traps moisture. Check weekly for rot and remove any slimy pieces immediately.
Wrapping up and next steps
Cutting seed potatoes is a game-changer for gardeners—it maximizes your harvest, reduces waste, and ensures healthier plants with minimal effort! By following these simple steps, you’ll unlock the potential of every tuber, whether you’re a seasoned gardener or just starting out. 🌱
Now that you’re ready to slice, dry, and plant, grab those seed potatoes and get growing! For even better results, experiment with different varieties or try chiting your cuttings for a head start. Happy gardening—your future harvest (and the planet) will thank you! 🌟