
Lawn
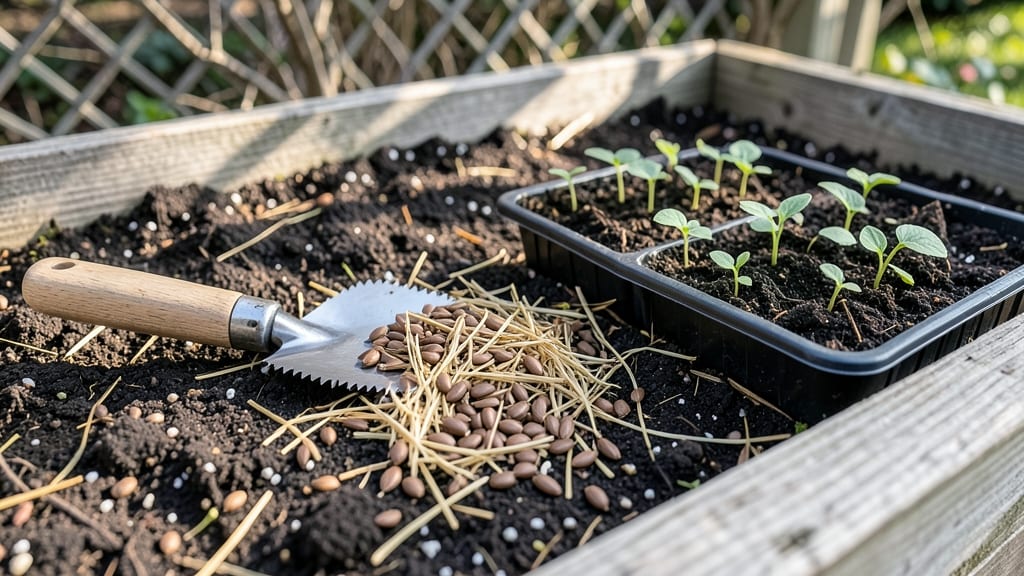
Cold-stratifying persimmon seeds over winter is the secret to breaking their stubborn dormancy and ensuring those vibrant orange blooms next spring. 🌱 I’ve struggled with erratic germination before—until I learned the exact moisture, temperature, and timing combo that works.
The process mimics nature’s way of preparing seeds for spring, but with a little help from your fridge or cold frame. You’ll need just three things: clean, dried persimmon seeds, a damp paper towel or peat moss, and a sealed container or plastic bag.
Place the setup in your refrigerator’s crisper drawer (or a cold frame outdoors if your winters are mild) for 8-12 weeks. This cold treatment tricks the seeds into thinking winter’s over, so they’ll sprout reliably when you plant them in early spring.
By late March or early April, you’ll see tiny roots breaking through the paper towel—proof the stratification worked. Transplant them into pots or directly into the garden, where they’ll establish quickly. The payoff? A tree that thrives for decades, with those showstopping flowers and sweet fruit to follow.
Works for both American persimmons (Diospyros virginiana) and Asian varieties (Diospyros kaki). Just adjust the stratification time slightly if you’re in a warmer climate—shorter cold periods can still work with patience. Here’s how to do it right the first time.
📚 In This Guide
- What you need
- Instructions
- Tips and common mistakes
- Wrapping up and next steps
What you need
- ● Persimmon seeds: 10–20 fresh, fully ripe seeds (harvested from Fuyu or Asian persimmons—avoid astringent varieties like Hachiya). Store in a paper towel in the fridge for 1–2 weeks before stratification to dry slightly.
- ● Cold stratification supplies: 1 small ziplock bag (quart-sized) or paper towel (2–3 sheets, dampened but not soaked).
- ● 1 refrigerator (set to 34–40°F (1–4°C)).
- ● Planting containers: 1–2 seedling trays (with drainage holes) or
- ● Small pots (3–4 inches deep) filled with well-draining potting mix (e.g., 50% peat moss + 50% perlite).
- ● Growing conditions: Bright, indirect light (e.g., a sunny windowsill or grow light).
- ● Humidity dome or plastic wrap (to retain moisture during germination).
- ● A seedling heat mat (if your home runs cold, speeds up germination).
- ● Fungicide spray (e.g., neem oil) to prevent damping-off in damp conditions.
- ● Labeling tags (to track stratification start dates and seed varieties).
- ● A spray bottle (for gentle watering post-stratification).
Step-by-Step instructions for cold stratifying persimmon seeds
Here's the foolproof method I use to break dormancy and ensure strong persimmon seedlings next spring.
🌱 Step 1: Extract and Prepare the Seeds
Start by removing the seeds from a fully ripe persimmon fruit—only use seeds from varieties you want to grow. Rinse them thoroughly under cool water to remove any remaining fruit pulp, then let them air-dry completely for 24 hours. This prevents mold from forming during stratification.
I like to soak the seeds in lukewarm water for 12 hours to soften the outer coating, which helps speed up germination later. After soaking, gently rub the seeds between your fingers to remove any remaining outer husk—this ensures water can penetrate easily during stratification.
💧 Step 2: Moisten and Pack the Seeds
Fill a small container (like a plastic bag or seed tray) with a mix of moistened peat moss or coconut coir—it should feel damp like a wrung-out sponge, not soggy. Place the cleaned seeds about 1 inch apart in the mix, pressing them in just enough so they're fully covered but not buried too deep.
The key here is maintaining consistent moisture. I seal the container in a plastic bag with a few small holes poked in it—this keeps humidity high while allowing airflow. Store the container in the refrigerator, where temperatures stay between 35-45°F for 6-12 weeks.
⏰ Step 3: Monitor and Test for Germination Readiness
After 4-6 weeks, check the seeds by gently pressing one between your fingers—if it feels slightly soft and begins to crack, it's ready. You'll also notice tiny white roots emerging from some seeds, signaling they've broken dormancy.
Once you see signs of root growth, transfer the container to a warm spot (65-75°F) and keep the mix moist. Germination typically occurs within 1-3 weeks after this move. Watch for the first true leaves—these will look different from the initial seed leaves and signal it's time to plant outdoors.
☀️ Step 4: Plant Out After Last Frost
Wait until after your area's last frost date and when soil temperatures reach at least 60°F before transplanting. Choose a sunny location with well-draining soil—persimmons hate soggy roots. Dig holes 3 times wider than the seedling's root ball but only as deep as the container it came in.
Water deeply before planting, then place the seedling in the hole and backfill with soil, pressing gently to remove air pockets. Mulch around the base with 2-3 inches of organic mulch to retain moisture and regulate soil temperature. Young persimmons need consistent care—water weekly during dry spells until established.
Tips & tricks for perfect persimmon seed stratification
Here's what nobody tells you about getting those persimmon seeds to sprout reliably—lessons learned after years of trial and error.
Timing Secret: The 24-hour air-dry step in Step 1 isn't just about preventing mold—it's also about hardening the seed coats. I learned this the hard way after seeds sprouted too quickly in damp conditions and rotted before germination. Place them on a paper towel in a single layer and let them dry completely before moving to soaking.
Temperature Matters: Your refrigerator's crisper drawer is the perfect spot for stratification at 35-45°F. If you don't have a crisper, use a plastic container with a lid (leave a small gap for airflow) on the bottom shelf where temps stay consistent. I've seen seeds fail when moved to warmer shelves—consistent cold is critical for breaking dormancy.
Moisture Management: That "wrung-out sponge" texture in Step 2 is non-negotiable. Too dry and seeds won't germinate; too wet and they'll rot. I like using a spray bottle to maintain moisture—just mist the container every 7-10 days while it's in the fridge. The sealed bag with holes creates the perfect humidity without suffocating the seeds.
Germination Readiness: When checking seeds after 4-6 weeks, look for both the softening AND the white root hairs. I've seen seeds that felt soft but had no roots, and vice versa—both signs mean different things. The root hairs indicate the seed is actively trying to grow, while softness just means moisture has penetrated. Only move seeds when you see both signs together.
Pro Tips for Persimmon Seed Winter
- Here's what nobody tells you about getting those persimmon seeds to sprout reliably—lessons learned after years of trial and error.
- Timing Secret: The 24-hour air-dry step in Step 1 isn't just about preventing mold—it's also about hardening the seed coats.
- Temperature Matters: Your refrigerator's crisper drawer is the perfect spot for stratification at 35-45°F.
Frequently asked questions
Got questions about cold-stratifying persimmon seeds for winter?
You’re not alone! Here are the most common queries—plus expert answers to help you nail that reliable spring bloom.
How long should I cold-stratify persimmon seeds for winter?
Persimmon seeds need 60–90 days of cold stratification (40–50°F) to break dormancy. Start in late fall (October–November) for spring planting. Use a damp paper towel or moist peat moss in a sealed bag—just don’t let them freeze solid!
Can I skip cold stratification and plant persimmon seeds directly in winter?
Not recommended! Direct winter planting often fails because seeds lack the gradual chilling they need to germinate. If you’re in a mild climate (Zone 8+), try a short outdoor cold snap (2–4 weeks) before transplanting indoors—but expect lower success rates. Patience pays off!
What if my persimmon seeds mold during stratification?
Mold = too much moisture! Open your container weekly to air them out for 10–15 minutes. Use sterilized peat moss or vermiculite, and avoid overwatering. If mold appears, toss the seeds and start fresh with a 50/50 mix of peat and perlite for better drainage.
Are there alternatives to cold stratification for persimmon seeds?
Yes! If you’re short on time, try scarification (nick the seed coat with sandpaper) + a 2-week warm soak (70°F) before a shorter cold period (30–45 days). Some gardeners also use refrigerator stratification (35–40°F) for 6–8 weeks—just monitor humidity!
How do I know if my stratified persimmon seeds are ready to plant?
Success! When seeds plump up and a tiny root (radicle) peeks out (1–3 weeks post-stratification), they’re ready. Plant ½-inch deep in well-draining soil, keeping it moist but not soggy. True leaves should appear in 4–8 weeks—persistence is key!
Wrapping up and next steps
Cold stratification isn’t just a gardening trick—it’s your secret weapon for unlocking vibrant spring blooms from persimmon seeds! By mimicking winter’s chill, you’re giving those tiny seeds the perfect head start, ensuring stronger roots and healthier growth.
Whether you’re a seasoned gardener or just starting out, this method is your ticket to reliable, thriving persimmon trees year after year.
Ready to turn those seeds into a lush, fruiting future? Grab your supplies, follow the blueprint, and plant with confidence! 🌱✨