
Lawn
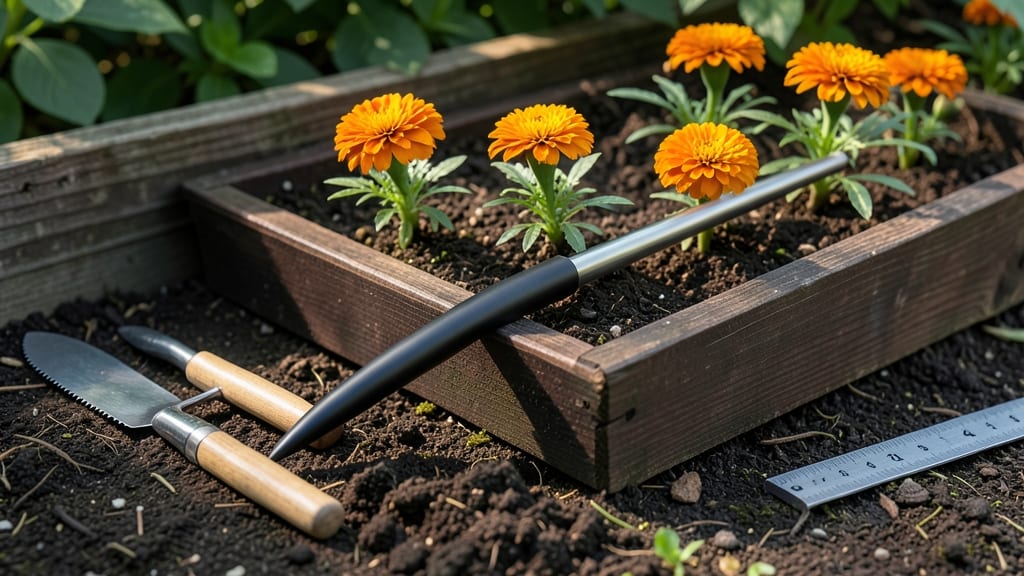
A seed dibber tool transforms your planting game from guesswork to perfectly spaced rows that grow into thriving plants. 🌱 I used to struggle with uneven seed placement until I tried this simple tool—it saves time, reduces waste, and ensures seeds get exactly the right depth and spacing.
The difference between a messy, overcrowded garden and one that thrives starts with this tiny but mighty helper.
This little tool does one thing incredibly well: create consistent holes for seeds at the exact depth they need. Most seed packets recommend spacing, but eyeballing it leads to uneven germination and wasted seeds.
A dibber makes it effortless to plant rows of carrots, radishes, or lettuce with military precision. You’ll spend less time thinning and more time admiring straight, even rows that grow up strong and healthy.
What you’ll notice immediately is how much faster planting becomes—no more digging individual holes or worrying about depth. The tool works for both small containers and large garden beds, making it perfect for any gardener.
Once you try it, you’ll wonder how you ever planted without one. It’s the secret to that neat, professional look without the fuss.
Pair it with a good seed-starting mix and a sunny spot, and you’ve got everything you need for foolproof planting. The best part? It’s a one-time purchase that pays for itself in saved seeds and fewer weeds. Ready to see your garden grow like never before?
📚 In This Guide
- What you need
- Instructions
- Tips and common mistakes
- Wrapping up and next steps
What you need
- ● Seed dibber tool: 1 wooden or metal dibber (6–12 inches long, tapered tip for precision).
- ● Pro tip: Look for ergonomic handles for comfort during long planting sessions! 💡
- ● Seeds: Choose your preferred variety (e.g., flowers, herbs, or veggies). Check seed packets for spacing recommendations.
- ● Garden soil: Loose, well-draining soil (amend with compost if needed).
- ● Watering can or hose: With a gentle spray nozzle for post-planting care.
- ● Measuring tape or ruler: To ensure consistent seed spacing (e.g., 6–12 inches apart, depending on plant type).
- ○ Gloves (optional but recommended): For protection against dirt and thorns.
- ● Seedling markers: Small sticks or labels to track plant varieties.
- ● Knee pad or stool: For comfort during extended planting sessions.
- ● Sun hat or umbrella: To shield yourself from the sun while working.
- ● Spray bottle with water: For misting seeds after planting.
How to use a seed dibber for flawless planting
Here's the foolproof method I use to space seeds perfectly every time—no more crowded seedlings or wasted packets.
🌱 Step 1: Prepare Your Dibber and Planting Area
First, check your seed dibber for cleanliness—old soil residue can introduce diseases. I like to wipe mine with a damp cloth before each planting session. The dibber's depth markings are your secret weapon: align them with your seed packet's recommended planting depth (usually 2-3 times the seed diameter).
Clear the planting area of weeds or debris, then loosen the soil with a fork or trowel to 6 inches deep. Press down lightly after loosening to create a firm base—this prevents seeds from sinking deeper than intended. If working with containers, ensure drainage holes are clear and the mix is moist but not soggy.
⏰ Step 2: Mark Your Planting Rows
Use a stick or small ruler to mark your planting rows 12-24 inches apart, depending on your plants' mature size. For example, carrots need 3 inches between rows, while tomatoes can handle 2 feet. I draw a faint line in the soil with my finger to guide the dibber—this keeps rows straight even if my hand shakes.
For larger gardens, use a garden hose to create a shallow trench along your marked line. This gives the dibber a natural groove to follow, ensuring perfectly straight rows. The trench also helps visualize spacing when you're planting hundreds of seeds.
🌿 Step 3: Plant Seeds with Precision
Hold the dibber vertically and press firmly into the soil until it reaches your depth marker. Gently tap the dibber's base on the ground to create a clean hole—this prevents soil from crumbling into the planting spot. Drop 1-2 seeds into each hole (check your packet for spacing recommendations), then cover lightly with soil using the dibber's flat side.
Here's the thing—I always plant two seeds per hole and thin later. This accounts for germination failures without wasting seeds. After covering, I run my finger along the row to smooth the soil surface. This prevents water from pooling around seeds during your first watering.
💧 Step 4: Water and Monitor for Germination
Water gently with a fine rose attachment to avoid dislodging seeds. The soil should be damp to 1 inch deep but not waterlogged. I like to water in the morning so excess moisture evaporates during the day. Place a small stake or marker at each end of your row to identify where you planted what—trust me, you'll forget by week three.
Most seeds germinate within 7-14 days, depending on the variety. Watch for the first green shoots—this is your cue to stop watering from above. Switch to watering at the base to prevent fungal diseases. If you see uneven germination, check your dibber's depth consistency—variations of just 1/4 inch can delay sprouting.
✂️ Step 5: Thin and Transplant as Needed
Once seedlings have 2-3 true leaves, use your dibber to carefully lift the weaker plant while leaving the stronger one intact. The dibber's pointed end makes this easier than fingers—you'll get cleaner removals and less root disturbance. Replant thinned seedlings in their final positions if they're still small.
For container gardens, I use the dibber to create planting holes in the final pots before transplanting. This prevents root circling and gives seedlings a head start in their permanent home. Always water thoroughly after transplanting to settle the soil around roots.
Tips & tricks for perfect seed spacing with a dibber
Precision planting starts with these simple tricks that'll transform your garden's organization and growth potential.
Depth Consistency is Everything: The dibber's markings are your best friend—always double-check they align with your seed packet's recommendations. For tiny seeds like lettuce, aim for just 1/4 inch deep, while larger seeds like beans can go up to 1 inch. I keep a small ruler nearby to verify depth when planting different varieties in the same session. Uneven planting depth causes uneven germination, which means wasted seeds and crowded seedlings.
Marking Rows Like a Pro: For straight rows that impress even the most seasoned gardeners, I use a simple trick: snap a piece of string taut between two stakes, then drag it through the soil to create a trench. This gives your dibber a natural groove to follow, especially helpful when planting long rows. For containers, press a pencil against the pot's edge to create a guide line before planting. This visual cue prevents planting too close to edges where roots can get cramped.
The Two-Seed Strategy: Planting two seeds per hole (as mentioned in Step 3) isn't just about backup—it's about efficiency. I've learned this the hard way after wasting seeds on failed germination. After the first green shoots appear, use your dibber to gently lift the weaker seedling while leaving the stronger one intact. The dibber's pointed end makes this easier than fingers, giving you cleaner removals and less root disturbance. This method also helps you identify which seeds germinated fastest, giving you insights for future plantings.
Germination Timing Tips: Most seeds sprout within the 7-14 day window mentioned in Step 4, but I've found that keeping a planting journal helps track variations. Write down seed types, planting dates, and germination days—this helps you adjust future plantings. If you notice uneven sprouting, check your dibber's depth consistency. Even a 1/4 inch variation can cause delays, so always verify depth after every few rows. For slow starters like peas, consider a quick soak in warm water before planting.
Pro Tips for Seed Dibber Tool
- Precision planting starts with these simple tricks that'll transform your garden's organization and growth potential.
- Depth Consistency is Everything: The dibber's markings are your best friend—always double-check they align with your seed packet's recommendations.
- Marking Rows Like a Pro: For straight rows that impress even the most seasoned gardeners, I use a simple trick: snap a piece of string taut between two stakes, then drag it through the soil to create a trench.
Frequently asked questions
Got questions about using a seed dibber tool? You’re not alone! Here are answers to the most common queries to help you master precision planting like a pro.
What’s the best time of day to use a seed dibber?
The ideal time is early morning or late afternoon when soil is moist but not soggy. Avoid midday heat, which can dry seeds too quickly. Cool temps and light shade also reduce stress on seedlings.
How deep should I plant seeds with a dibber?
Depth depends on seed size: tiny seeds (like lettuce) need just ¼ inch, while larger ones (beans, peas) go 1–2 inches deep. Check your seed packet for specifics—most dibbers have depth markers to guide you!
Can I use a dibber for transplanting seedlings instead of seeds?
A dibber works great for transplanting seedlings too. Just widen the hole slightly to accommodate roots, then press gently to secure. It’s perfect for herbs, veggies, or flowers with delicate stems.
What if my dibber keeps clogging with soil?
Clogging usually means the tip is dull or too small. Sharpen the metal tip with a file or replace it if bent. For stubborn soil, tap the dibber lightly against a hard surface to loosen debris before use.
Are there alternatives to a dibber for small gardens?
Yes! Try a pencil, chopstick, or even a skewer for lightweight use. For larger areas, a hand trowel with a dibber attachment or a seedling tray with built-in spacers can work too.
How do I clean and store my dibber?
Rinse it with water after use to remove soil, then wipe dry. Store in a shady, dry place (like a tool shed) to prevent rust. For metal dibbers, apply a light coat of oil occasionally to keep it in top shape.
Wrapping up and next steps
Mastering the seed dibber tool transforms your gardening game—no more guesswork, just perfectly spaced seeds for thriving plants! Whether you're a beginner or a seasoned green thumb, precision planting leads to healthier lawns and gardens with minimal effort. 🌱
Ready to elevate your gardening? Grab your dibber, mark your grid, and start planting with confidence. Your future garden will thank you!
- 📝 Next step: Try it on a small patch first to practice your spacing.
- 🌿 Pro tip: Keep your dibber clean and sharp for smooth planting.