
Lawn
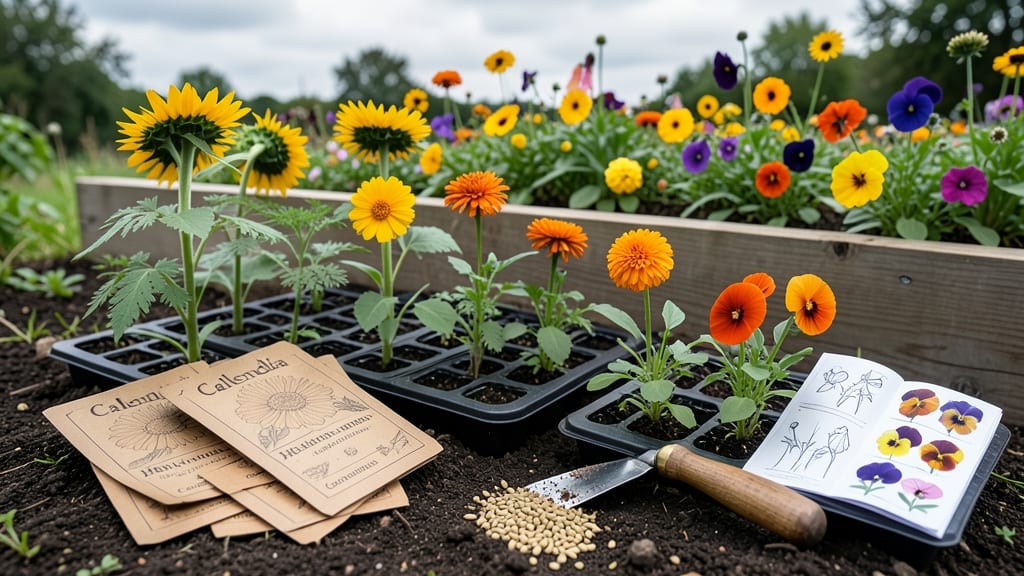
Mastering common flower seed identification can feel like solving a puzzle—until you know what to look for. 🌸 I’ve spent years sorting through seed packets, catalogs, and even wildflower collections, and the key is spotting those tiny but telltale details: seed shape, texture, and color.
A single misstep could mean planting cosmos instead of coreopsis, and trust me, your garden will thank you for the difference.
The most reliable way to start is by comparing seeds to trusted visual guides—think of it like matching a face to a mugshot. Some seeds are obvious (like the plump, papery poppy seeds), while others require a magnifying glass (hello, delicate baby’s breath).
I keep a small notebook with sketches of the seeds I’ve planted, and it’s saved me from more than one “oops” moment with weeds masquerading as flowers.
Once you’ve got your seeds sorted, planting becomes second nature. You’ll know exactly where to tuck those tiny sunflower seeds (just barely under the soil) or how to scatter wildflower mixes without overcrowding.
The payoff? A garden that blooms with exactly what you planted—no surprises, just lush, intentional beauty from spring to fall.
For beginners, start with 5-10 easy-to-identify seeds like marigolds or zinnias—they’re forgiving and visually distinct. And if you’re sourcing seeds from wildflower mixes, always check the label for percentages of each type.
Your first year will be your best teacher, and soon, you’ll be spotting seeds with the confidence of a seasoned gardener.
📚 In This Guide
- What you need
- Instructions
- Tips and common mistakes
- Wrapping up and next steps
What you need
- ● Magnifying glass (3x–10x magnification) – Essential for spotting tiny details like seed texture, shape, and markings.
- ● Ruler or caliper (measuring up to 1 inch) – Helps gauge seed size accurately (e.g., dandelion vs. poppy seeds).
- ● White or light-colored tray/board – A simple way to arrange seeds for easy comparison (a baking sheet works!).
- ● Soft-bristle paintbrush or tweezers – Gently moves seeds without damaging them (great for delicate lupine or foxglove seeds).
- ● Field guide or printed ID chart – Our visual guide (or a book like Wildflowers of North America) is a must.
- ● Notebook & pencil – Jot down observations like seed color, shape, and location found.
- ● Small plastic bags or envelopes – Collect seeds for later study (label them clearly!).
- ● Digital microscope or smartphone adapter – Capture close-ups of fuzzy, striped, or winged seeds (e.g., milkweed pods).
- ● UV flashlight – Some seeds (like black-eyed Susan) glow under UV light—fun for nighttime ID!
- ● Seed identification app – Try PictureThis or iNaturalist for instant comparisons.
- ● Moisture tray – A damp paper towel helps reveal seed structures (e.g., sunflower vs. zinnia seeds).
- ● Gloves (nitrile or cotton) – Protects hands from prickly seeds (like thistle) or sap (e.g., poison ivy—avoid handling!).
How to identify common flower seeds: key visual cues
Mastering seed ID starts with these simple visual tricks—no botany degree required.
🌱 Step 1: Examine Seed Shape and Size
Most flower seeds fall into three basic shapes: round, oval, or elongated. Round seeds like marigold or zinnia are often plump and uniform, while elongated seeds (think snapdragon or larkspur) have a distinct tapered look. Measure against a standard dime—seeds smaller than a dime are usually fine-textured annuals, while larger ones often belong to perennials or biennials.
Pay attention to surface texture too. Smooth seeds like cosmos or sunflower germinate quickly, while ridged or wrinkled seeds (like poppy) may need scarification or cold stratification. I always run my thumb along the seed edge—if it feels rough or bumpy, that’s your first clue about its origin.
🌿 Step 2: Check for Distinctive Markings
Many seeds have tiny but unmistakable patterns. Lavender seeds often show faint purple streaks, while snapdragon seeds have a subtle "eye" spot near one end. Hold the seed between your fingers under bright light—some markings only appear when backlit. I keep a small magnifying glass handy; even a 10x lens reveals details like foxglove seeds' faint hair-like tufts.
Color matters too. Dark seeds (like black-eyed Susan) usually need light to germinate, while pale or translucent seeds (such as sweet pea) often require moisture first. If a seed looks like it’s been dusted with powder, it’s likely coated for easier handling—strip off the coating before planting.
☀️ Step 3: Compare Seed Packaging Clues
Even if you’re identifying seeds from an unknown source, packaging labels often hold secrets. Look for terms like "pelletized" (coated seeds), "stratified" (pre-chilled), or "scarified" (scratch-coated). I’ve found that seeds labeled "organic" or "heirloom" tend to have more distinct shapes—breeders preserve unique traits in these varieties.
Check the seed count per packet too. A packet with 500+ seeds usually means tiny annuals (like bachelor’s buttons), while 50 or fewer suggests larger seeds (like lupine). If the packet shows a flower illustration, compare it to your seed—many garden centers use standardized images for common varieties.
💧 Step 4: Test Float or Sink Behavior
Drop seeds in a glass of water to see if they float or sink. Most wildflower seeds (like coreopsis) sink quickly, while water-loving seeds (such as lobelia) float. This trick helps separate moisture-sensitive seeds from those that need damp conditions. I fill a clear jar with water and watch for 30 seconds—if seeds stay submerged, they’re likely drought-tolerant.
Floaters often need surface moisture (like misting) to germinate, while sinkers usually require soil moisture. This is a quick way to narrow down your options without guessing. Just don’t soak seeds longer than 1 hour—some varieties rot if submerged too long.
⏰ Step 5: Verify with Germination Timing
Plant a few mystery seeds in a small pot with moistened soil, then track when they sprout. Fast germinators (like marigold, 3-7 days) are usually annuals, while slow starters (like foxglove, 2-4 weeks) are often perennials. Label each pot with the seed’s characteristics—shape, color, and size—to build your own reference library.
If seeds don’t sprout within 30 days, they’re likely dormant or dead. I keep a germination journal to track patterns—some seeds need cold treatment (stratification) or light exposure to break dormancy. This hands-on test is the ultimate way to confirm your ID guesses.
Tips & tricks for perfect flower seed identification
These simple tricks will help you become a seed-sleuthing pro—no green thumb required.
Lighting Makes All the Difference: Natural daylight is your best friend for seed identification. Place seeds on a white surface near a window or use a bright LED lamp to reveal subtle markings. I’ve found that holding seeds between two sheets of glass under sunlight makes patterns pop—especially those tiny "eye" spots on snapdragon seeds. A simple magnifying glass (even a $5 drugstore version) works wonders for catching details you’d miss with the naked eye.
Texture Talks: The surface of a seed can tell you more than you think. Run your thumb along the edge—smooth seeds like cosmos germinate quickly, while ridged or wrinkled seeds (like poppy) often need special treatment. Pro tip: If a seed feels slightly sticky or powdery, it’s likely coated for easier handling. Gently rub it between your fingers to reveal the true texture underneath.
Seed Count Clues: The number of seeds in a packet gives major hints. Packets with 500+ seeds usually contain tiny annuals like bachelor’s buttons, while packets with 50 or fewer often hold larger seeds like lupine. I always check this first—it’s like a cheat code for narrowing down possibilities before even examining the seeds themselves.
Water Test Shortcut: The 30-second float test in Step 4 is your fastest way to separate moisture-loving seeds from drought-tolerant varieties. Keep a small jar of water handy for quick tests—just remember to limit soaking to 1 hour max to avoid damaging seeds. This simple trick saved me from guessing games with mystery seeds from my neighbor’s garden last summer.
Pro Tips for Common Flower Seed Identification
- These simple tricks will help you become a seed-sleuthing pro—no green thumb required.
- Lighting Makes All the Difference: Natural daylight is your best friend for seed identification.
- Texture Talks: The surface of a seed can tell you more than you think.
Frequently asked questions
Got questions about flower seed identification? You’re not alone! Here are some of the most common queries—plus quick answers to help you grow with confidence.
How do I tell the difference between annual and perennial flower seeds?
Annuals (like marigolds or zinnias) complete their life cycle in one season and need replanting yearly. Perennials (e.g., coneflowers or black-eyed Susans) return year after year from the same seeds or roots. Check seed packets for labels—annuals often say "fast-growing" or "seasonal," while perennials may note "long-lived" or "re-seeds easily."
When is the best time to plant flower seeds outdoors?
The ideal timing depends on your climate and flower type. For cool-season flowers (e.g., pansies, snapdragons), plant seeds 4–6 weeks before the last frost. Warm-season flowers (like sunflowers or cosmos) thrive when soil temps hit 60°F+—usually after spring frost risks pass. Always read seed packet instructions for specifics!
Can I identify flower seeds without a magnifying glass?
Start with these key visual clues:
- Seed shape: Round (e.g., poppy), flat (e.g., larkspur), or elongated (e.g., cosmos).
- Texture: Smooth (like milkweed) or ridged (e.g., foxglove).
- Color: Many seeds are black, brown, or gray, but some (like bluebonnet) have distinct hues.
- Packet labels: Compare seeds to photos on the packaging—it’s your best shortcut!
If you’re still unsure, snap a photo and use apps like iNaturalist or PictureThis for AI-assisted ID.
What if my flower seeds don’t sprout after planting?
Don’t panic! Try these troubleshooting steps:
- Check moisture: Keep soil consistently damp (not soggy). Use a spray bottle for fine seeds.
- Test depth: Tiny seeds (e.g., petunias) need light—press them just into the soil. Larger seeds (like beans) can go deeper.
- Warmth matters: Some seeds (e.g., marigolds) need 70°F+ soil to germinate. Use a heat mat if needed.
- Patience: Some seeds (like lupine) take 2–4 weeks to sprout.
If nothing works, the seeds may be old (1–2 years past the pack date) or damaged. Try fresh seeds!
Are there easy flower seeds for beginners?
Yes! Start with these low-maintenance, fast-growing options:
Flower
Why It’s Great
Germination Time
Sunflower (Helianthus)
Tall, cheerful, and sprouts in 5–10 days. Kids love them!
5–10 days
Zinnia (Zinnia elegans)
Bright colors, cut-and-come-again blooms, and thrives in heat.
7–14 days
Marigold (Tagetes)
Pest-repellent, disease-resistant, and blooms in 6–8 weeks.
7–14 days
Cosmos (Cosmos bipinnatus)
Self-seeds easily, drought-tolerant, and attracts butterflies.
7–21 days
All four are annuals but self-sow for surprise returns next year!
Wrapping up and next steps
Identifying flower seeds doesn’t have to be a puzzle—with the right visual cues and a little practice, you’ll soon spot marigolds, cosmos, and milkweed like a pro! 🌸 Whether you’re reviving your garden or exploring wildflower trails, confidence in seed recognition unlocks endless possibilities for beauty and biodiversity.
Ready to put your new skills to work? Start small:
- Grab a seed-starting kit or a field guide.
- Plant a few identified seeds and watch your green thumb grow!
- Share your discoveries with fellow gardeners—community knowledge makes the journey even sweeter.